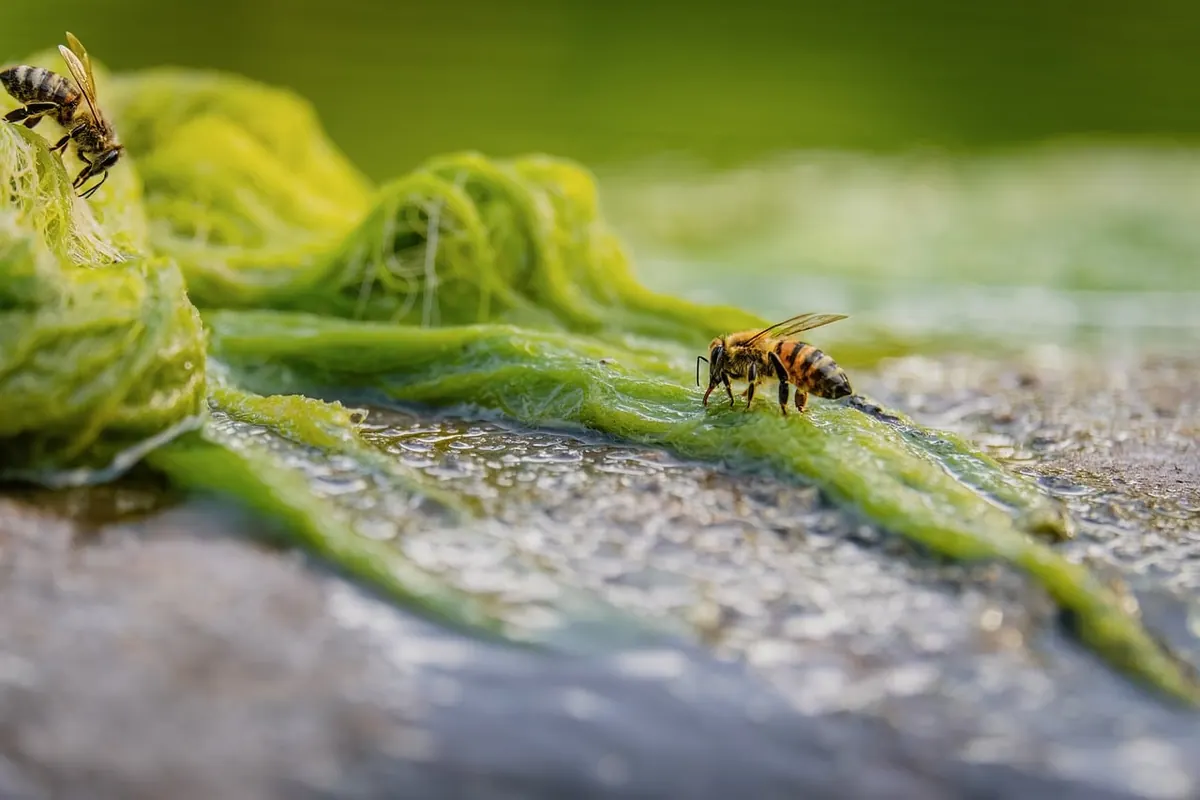
How to Photograph Brook Wildlife Without Disturbing It
A brook is a narrow stage with a busy cast. A dipper bobbing on a midstream stone, a banded demoiselle flicking along the riffle, a water vole slipping into a run of gravel — it all happens within a few metres of the bank you are standing on. That closeness is both the appeal and the problem. On water this small, you are usually near enough to change an animal's behaviour long before you press the shutter.
Good brook photographs come from fieldcraft more than equipment. How you walk, where you sit, how long you are willing to wait and when you decide to leave all matter more than the lens you carry. Gear and settings still count, but only if the subject stays put.
Read the water before you take the camera out
Arrive at a stretch of brook and spend the first ten minutes with binoculars rather than a lens. Walk the bank slowly and work out what you are looking at: riffles where oxygen and insects concentrate, deeper pools where fish hold, undercut banks and alder roots that give cover to mammals.
Then look for signs. A stone with white splash marks usually means a dipper has been using it as a feeding perch. A dark, twisted spraint on a boulder, often full of fish bones, is an otter's. Grass stems cut cleanly at an angle suggest water voles. Caddis cases and mayfly shucks on the underside of rocks tell you where the invertebrate life is.
Check the wind before you commit. A valley channels it along the water, so a breeze can be doing something quite different from the forecast. Drop a pinch of dry grass and watch where it goes. If you are after mammals, approach with the wind in your face and your scent carried away from the bank.
Finally, plan your route. Approaching from downstream is usually best: the noise of a riffle masks your footsteps and most stream animals sit facing upstream, into the current and towards the food.
Fieldcraft: getting close without changing anything
Walk as if you are trying not to wake someone. Weight on the back foot, heel down first, three or four steps then a pause. Stay on the bank where you can rather than wading, because wading churns silt, sends a sediment plume downstream and ruins the clarity of the water you came to photograph.
Get low. Kneeling or sitting at the water's edge puts you at eye level with your subject and breaks up your silhouette against the sky. Once you are settled, stay settled. Most birds and mammals that fled when you arrived will drift back within ten minutes if you are still and quiet.
- Wear muted colours and soft fabrics. Crisp waterproofs and velcro are as good as a whistle.
- Leave strong scents at home — insect repellent, sun cream and tobacco all carry.
- Keep the sun behind or to your side, but watch where your shadow falls. A shadow across a pool empties it.
- Learn three alarm calls: the sharp note of a grey wagtail, the clatter of a moorhen and the "zit" of a dipper. They are your early warning system.
- If your subject stops feeding and stares at you, you are too close. Retreat a few metres and wait.
Lens choices for a small, close habitat
A macro lens in the 60–105mm range covers most brook insects, and the longer end gives you working distance — you can photograph a demoiselle on a nettle without leaning over the water. Extension tubes are a cheap way to get closer with a lens you already own.
For birds and mammals, a 100–400mm or 150–600mm zoom is the practical answer. It is flexible enough to switch from a kingfisher on a perch forty metres away to a water vole ten metres downstream. A 300mm with a converter works too, though you lose light and autofocus speed.
A wide angle earns its place for habitat shots: a brook threading through alders, mist over a pool. You will often need to be in the water for those, so choose your spot carefully and keep off gravel that may be holding spawning fish.
Fit a polarising filter. It cuts the glare off the surface so you can see through the water, and it protects the front element from spray. For support, a beanbag on a bank or a tripod with the legs splayed low beats a monopod, which is awkward on uneven ground.
Settings for moving water and moving subjects
Shutter speed is the first decision. Dragonflies in flight want 1/1000sec or faster; a dipper bobbing on a stone is comfortable at 1/500sec; a perched bird will sit at 1/250sec if your support is solid. When in doubt, raise the speed and the ISO rather than lose the frame to motion blur.
For macro work, stop down to around f/8–f/16 to get enough depth of field across an insect, and accept that you may need a diffused flash on dull days. For everything else, keep the aperture moderate and let the bank behind your subject fall out of focus.
Dark water fools light meters into overexposing pale birds, so check the histogram rather than the preview. Expose for the bird's chest, watch for blown highlights on a dipper, and use continuous drive for action and single frames for portraits. A silent shutter helps with mammals, though check for banding under artificial light. Avoid flash entirely on otters, water voles and anything sitting on a nest.
Positioning and conduct: the ethical line
Everything above assumes you can get your picture without the animal paying for it. Most of the time you can. The line is crossed when the subject changes what it is doing because you are there.
- Keep well back from nests, holts and burrows, and never cut vegetation to get a clearer view.
- If a bird alarm-calls or performs a distraction display, leave the area immediately rather than waiting for one more frame.
- Do not bait, handle or move subjects. No luring otters with fish, no chilling insects for a still life, no picking up amphibians.
- If you turn a stone for a photograph, put it back the same way up and in the same place. That is where the nymphs live.
- Stay out of the water over gravel in winter and early spring, when fish may be spawning.
- Clean and dry your boots and kit between catchments to avoid moving invasive plants, crayfish and disease.
- Be discreet about locations. Publishing a precise spot for a sensitive species rarely ends well for the species.
- On reserves and protected sites, ask the warden before setting up, especially for commercial work.
In the UK, wild birds are protected by law while nesting, and some species have extra protection against disturbance at any time of year. If you are unsure whether your approach is lawful, check the guidance published by the statutory conservation body for your part of the UK.
A simple routine to take to the brook
- Pause at the bank for five minutes with binoculars and no camera.
- Note the wind direction and pick an approach from downstream.
- Choose one subject and one position, then sit down and settle.
- Wait until the animal resumes normal behaviour before raising the lens.
- Take a short burst, then stop and reassess. If it reacts, withdraw.
- Leave the bank as you found it, and take away any litter you spot.
That routine will not produce a dramatic portfolio in an afternoon. What it will produce is honest pictures of stream life behaving naturally, which is the only kind worth having. The photographers who do this well are rarely the best equipped. They are the ones who sat still long enough for the brook to forget they were there.
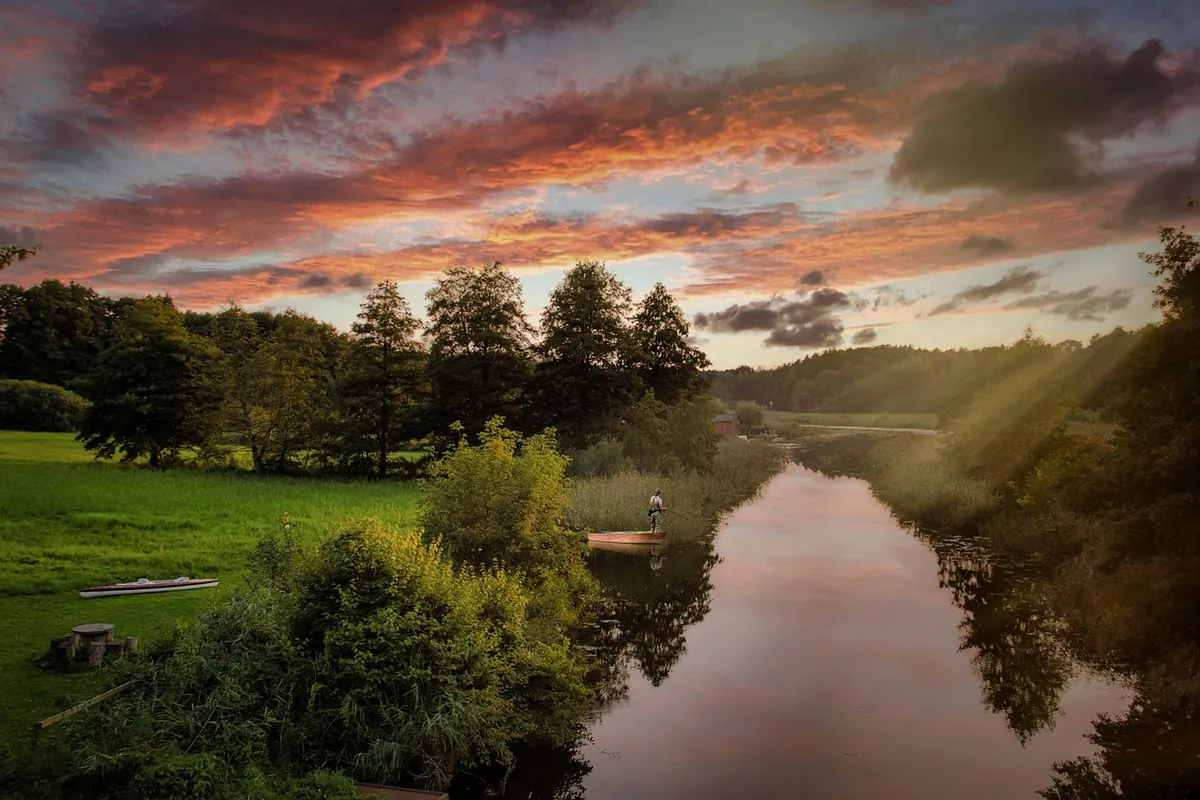
Photo: Couleur / Pixabay